Installing Spark in an Angular Project
This guide will walk you through installing and using Spark on an existing Angular application. For help with setting up the necessary development environment, see the Angular CLI Overview.
By the end of this, you’ll have all the Spark JavaScript and CSS available in your application to start building components.
Note: This covers setting up Spark for Angular 7, 8 and 9. Spark doesn’t currently support Angular JS.
Before you begin, make sure that:
- You have a functioning Angular app similar to the one in the Angular CLI Overview
- Sass is installed and functioning
- Angular Routing is installed (not required by Angular CLI, but it is required for Spark)
Installing Spark Packages
- Start by going to your project
directory and installing
sparkandspark-angularby pasting the following line in a command line application.
npm install -save-dev @sparkdesignsystem/spark @sparkdesignsystem/spark-angular
- Edit
app.module.tsto import thespark-angularlibrary and also theBrowserAnimationsModule, and include them in@NgModule'simportsarray. This file can be found inyour-app/src/app.
import { BrowserModule } from '@angular/platform-browser';import { NgModule } from '@angular/core';import { AppRoutingModule } from './app-routing.module';import { AppComponent } from './app.component';import { SparkAngularModule } from '@sparkdesignsystem/spark-angular';import { BrowserAnimationsModule } from '@angular/platform-browser/animations';@NgModule({declarations: [AppComponent],imports: [SparkAngularModule,BrowserAnimationsModule,BrowserModule,AppRoutingModule],providers: [],bootstrap: [AppComponent]})export class AppModule { }
- Next, edit
styles.scssto@importthe Spark stylesheet. This file can be found inyour-app/src.
@import "node_modules/@sparkdesignsystem/spark/spark.scss"
Note: Importing Spark SCSS at the component level can lead to unexpected behavior.
Then, add the
sprk-u-JavaScriptCSS class to the root<html>element in your application. Usually, the<html>element is in theindex.htmlfile.Back on the command line, build and run your new application by running
npm run startand openinghttp://localhost:4200/in your web browser. When Angular builds, Spark’s styles will be processed and bundled into the application.
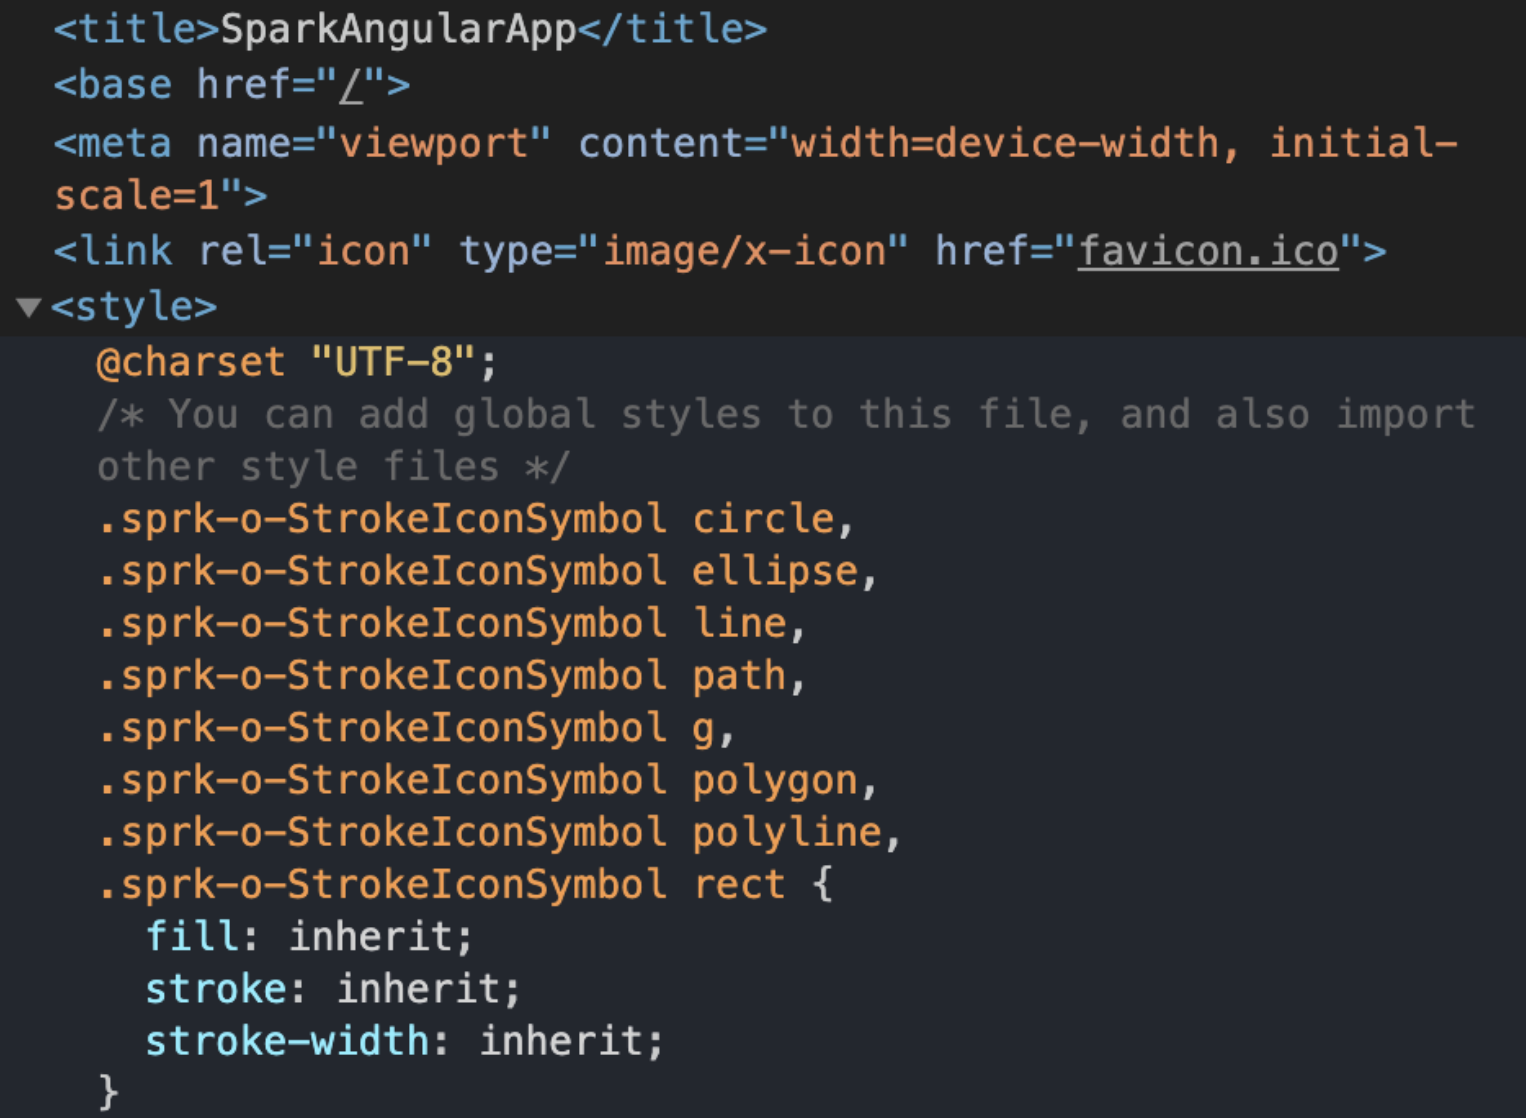
You can verify that Spark’s
styles are being included by
opening your browser’s developer
tools and inspecting the DOM.
There should be a <style>
tag in the <head> that includes
Spark’s styles.

Adding Angular Components
Now that everything is building, let’s add a component to your application that will allow us to test that both Spark’s styles and functionality are working. We’ll use the Loading Button component to do this. You can find code for all Spark components at angular.sparkdesignsystem.com.
- Copy the sample code inside
app.component.html.
This file can be found in
your-app/src/app.
You can delete everything in this
file other than the final line (<router-outlet></router-outlet>) .
<button(click)="checkSpinner($event)"sprkButton>Button</button>
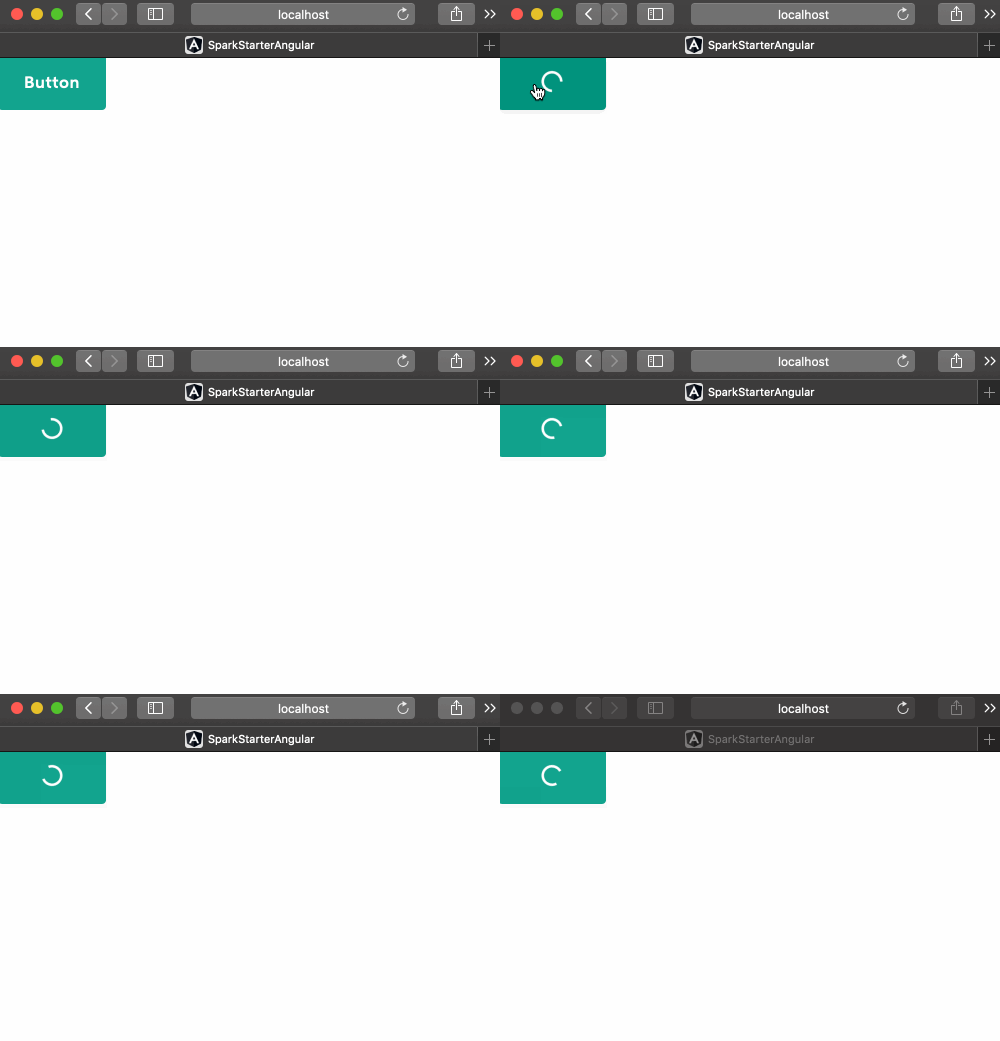
You should now see a Spark Button in your application! It might look slightly cropped, but that’s OK. It’s because we don’t yet have any layout on the page.
- Now, let’s add some TypeScript
to trigger the Spinner
behavior. Copy this code into
the
AppComponentclass insideapp.component.ts. This file can be found inyour-app/src/app.
export class AppComponent {submitSpinning = false;checkSpinner(event): void {if (!this.submitSpinning) {setSpinning(event.target, {});this.submitSpinning = true;}}}
- Finally, import the
setSpinningutility function from the Spark library. This goes at the top of your component’s.tsfile, in our caseapp.component.ts.
import { setSpinning } from '@sparkdesignsystem/spark';
- Head back to your web browser and click the Spark Button that you added earlier. If everything's working correctly, the text should be replaced with an animated spinner.

You did it!
You now have a development environment set up with Spark installed, and you’re ready to start building! For Spark support, email the Spark team with any questions and we’ll respond as quickly as possible.
Additional Topics
Check out these guides for more information on setting up Spark:
- The Icon Installation Guide for importing the Spark SVG Icon Set
- The Font Installation Guide for instructions on using the Rocket Sans font